Connecting a Xero account with the HAPO Xero Synchronization app is the first and foremost step to activate the app.
In this post, you will learn how to connect your Xero account with HAPO Xero Synchronization.
How to Connect Xero Account with HAPO Xero Synchronization App
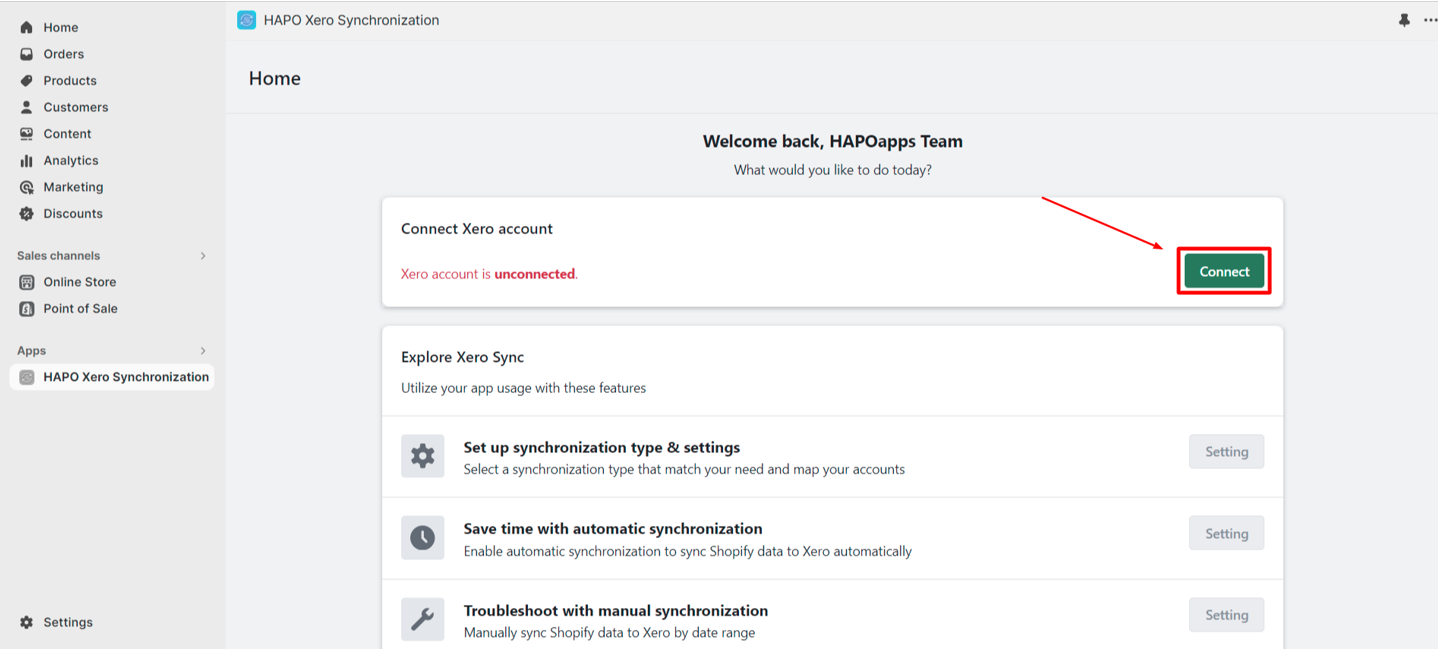
Step 1: On the HAPO Xero Synchronization dashboard, click on the Connect button in the Connect Xero account section.
Step 2: Navigate to Log in to the Xero website, sign in to your Xero account > Click on the Allow access button to finish the connection process.
Note: The HAPO Xero Synchronization app needs access to view and manage your organization settings, business transactions, and contacts.


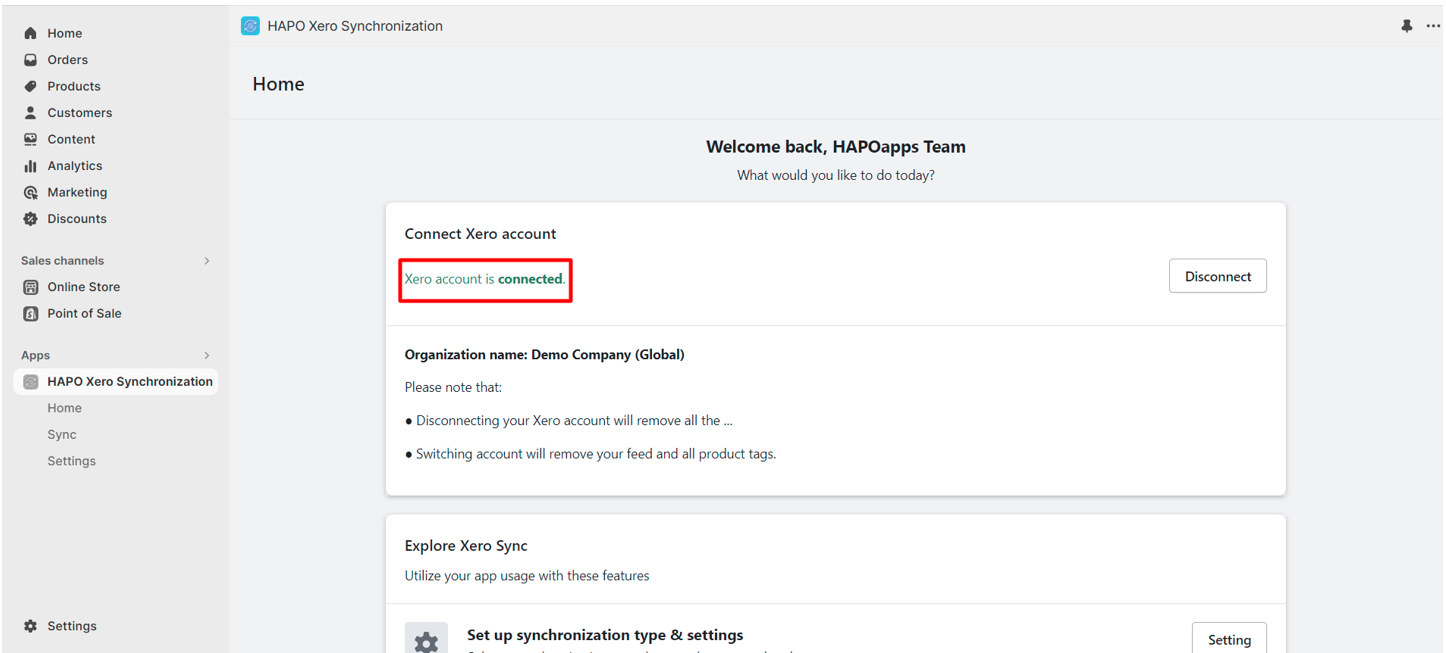
Step 3: Navigate to the HAPO Xero Synchronization dashboard, you will see the notification Xero account is connected and the Connect button turns into Disconnect.
That’s how you connect your Xero account with the HAPO Xero Synchronization app.
Have Any Questions?
If you have any questions or need assistance, don’t hesitate to contact us via live chat in-app or send us an email to [email protected] Our support team is happy to help you!